Define View Data by Adding Integrations
After defining your view, the next step is to fetch the entity data that will populate the view. This is done by adding integrations with external data sources. By defining these integrations, you can ensure that the view is populated with the appropriate entity records, allowing you to display dynamic, real-time data from both DRUID Data Services and external sources.
To define the view data follow these steps:
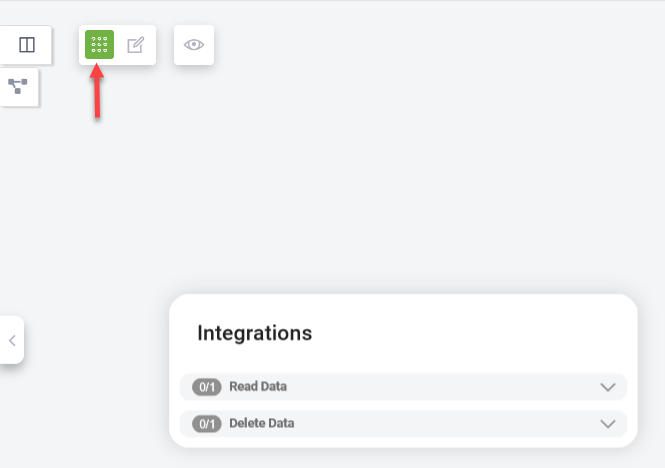
- At the top side of the View Diagram, click the Add Integrations icon (
 ). A pop-up will appear with two sections:
- Read Data – This section allows you to define the data source from which DRUID reads and aggregates information for the view.
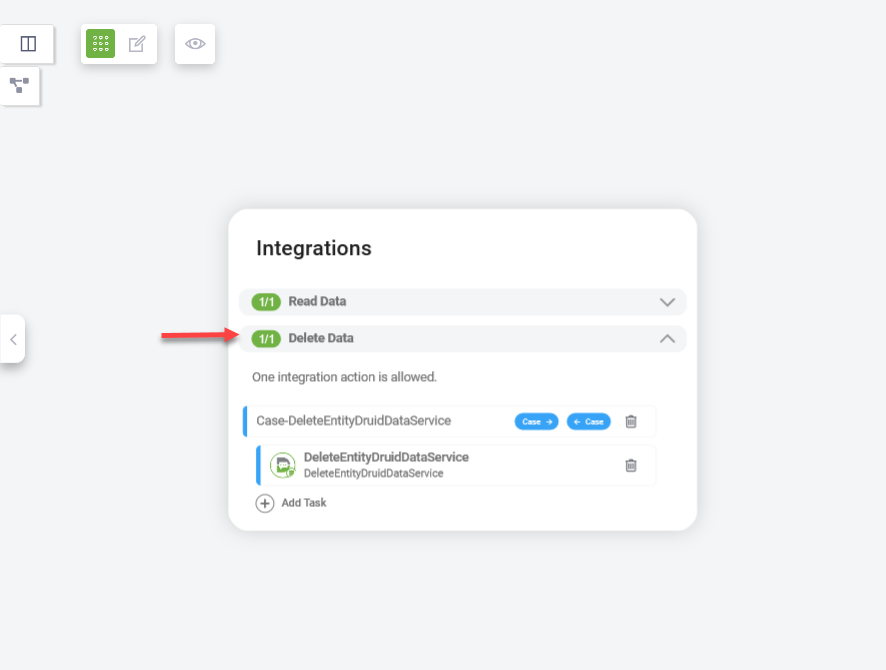
- Delete Data – This section allows you to define what happens when records are deleted from the view.
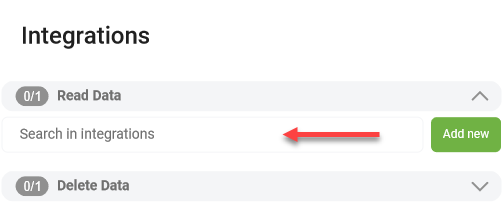
- Click on Read Data to expand the section.
- Define the data source from which DRUID reads the data:
- Add an existing integration action. Search for an existing integration action in the current solution and press Enter.
- Add a new integration:
- Click Add New and define the connector action using the editor. Ensure the current entity is set as the Response Entity and the options Is Response Collection and Is Active are selected.
- Save the integration action by clicking the Save icon (
 ) at the top-right corner of the editor.
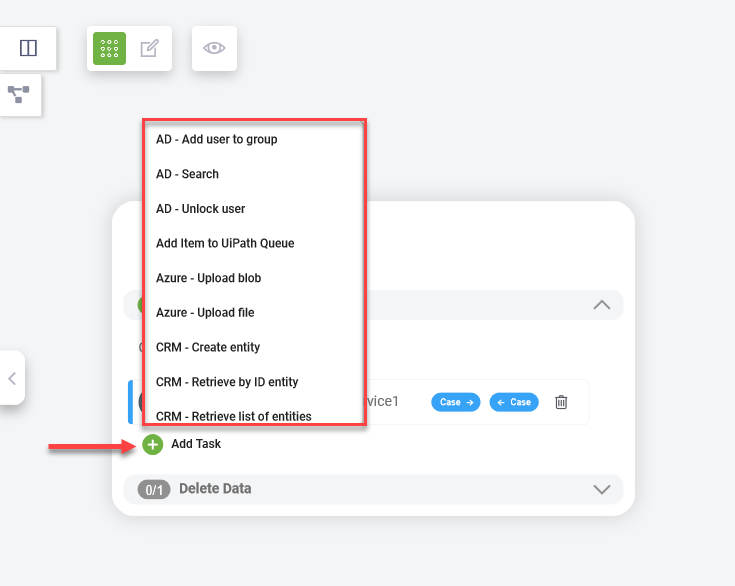
- Add integration tasks. Click on the Add task icon and select the desired integration task from the list where the current entity is Response entity and Is Response Collection is selected.
- Select the integration from where you want to data. This functionality is similar to defining integrations on flows.
- Click on Delete Data to expand the section.
- Select the desired integration to define the behavior when records are deleted from the view.

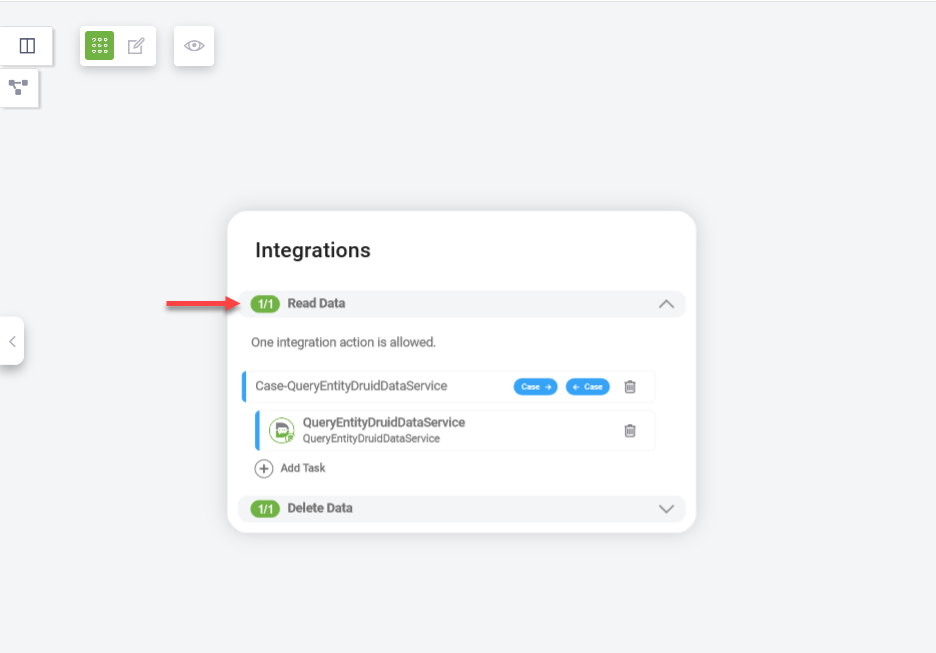
You must publish new integrations after adding them to apply the changes.
Once you’ve set up the integrations, preview the view to check how the data is displayed and make any further adjustments as needed.
By following these steps, you will ensure that your view is populated with the correct data from both internal and external sources and that proper handling of data deletion is defined.